Ledger.com/start – Getting Started with Ledger
Introduction
Welcome to Ledger.com/Start, your gateway to securing your cryptocurrencies with a Ledger hardware wallet. Whether you're new to crypto or an experienced trader, setting up a Ledger device ensures that your digital assets remain safe from online threats.
In this 2,500-word guide, we’ll walk you through:
What is Ledger?
Why Use a Ledger Wallet?
Unboxing Your Ledger Device
Initial Setup Process
Installing Ledger Live
Adding and Managing Cryptocurrencies
Security Best Practices
Troubleshooting Common Issues
Conclusion & Next Steps
Let’s dive in!
1. What is Ledger?
Ledger is a leading hardware wallet manufacturer that provides secure offline storage for cryptocurrencies. Unlike software wallets (like MetaMask or Trust Wallet), Ledger devices store private keys in an isolated, tamper-proof chip, keeping them safe from hackers.
Popular Ledger Models
Ledger Nano S – Affordable, supports major cryptocurrencies.
Ledger Nano X – Bluetooth-enabled, supports 100+ coins.
Ledger Stax – Touchscreen, premium security (newest model).
Ledger wallets work with Ledger Live, a companion app for managing crypto assets.
2. Why Use a Ledger Wallet?
Key Benefits
✅ Cold Storage Security – Private keys never leave the device.
✅ Multi-Currency Support – Bitcoin (BTC), Ethereum (ETH), Solana (SOL), and more.
✅ User-Friendly – Easy setup via Ledger Live.
✅ Recovery Phrase Backup – Restore funds if the device is lost.
✅ DeFi & NFT Compatibility – Works with MetaMask, OpenSea, and staking platforms.
Who Should Use a Ledger?
Long-term crypto holders ("HODLers")
Active traders needing secure transactions
NFT collectors
DeFi users interacting with smart contracts
3. Unboxing Your Ledger Device
When you receive your Ledger wallet, ensure the package is sealed and untampered. Inside, you’ll find:
✔ Ledger device (Nano S, Nano X, or Stax)
✔ USB cable (or Bluetooth for Nano X)
✔ Recovery sheet (for writing down your seed phrase)
✔ Getting started guide
⚠️ Warning: Never buy a used Ledger—always purchase from Ledger.com or authorized resellers.
4. Initial Setup Process
Step 1: Connect Your Ledger to a Computer
Plug in via USB (or pair via Bluetooth for Nano X).
Follow on-screen instructions to initialize the device.
Step 2: Set Up a PIN Code
Choose a 4-8 digit PIN (this protects physical access).
If you enter the wrong PIN 3 times, the device resets.
Step 3: Write Down Your Recovery Phrase (Most Important!)
The device generates a 24-word seed phrase.
Write it down manually (never store it digitally).
This phrase can restore your wallet if lost or damaged.
⚠️ Never share your recovery phrase! Anyone with it can steal your crypto.
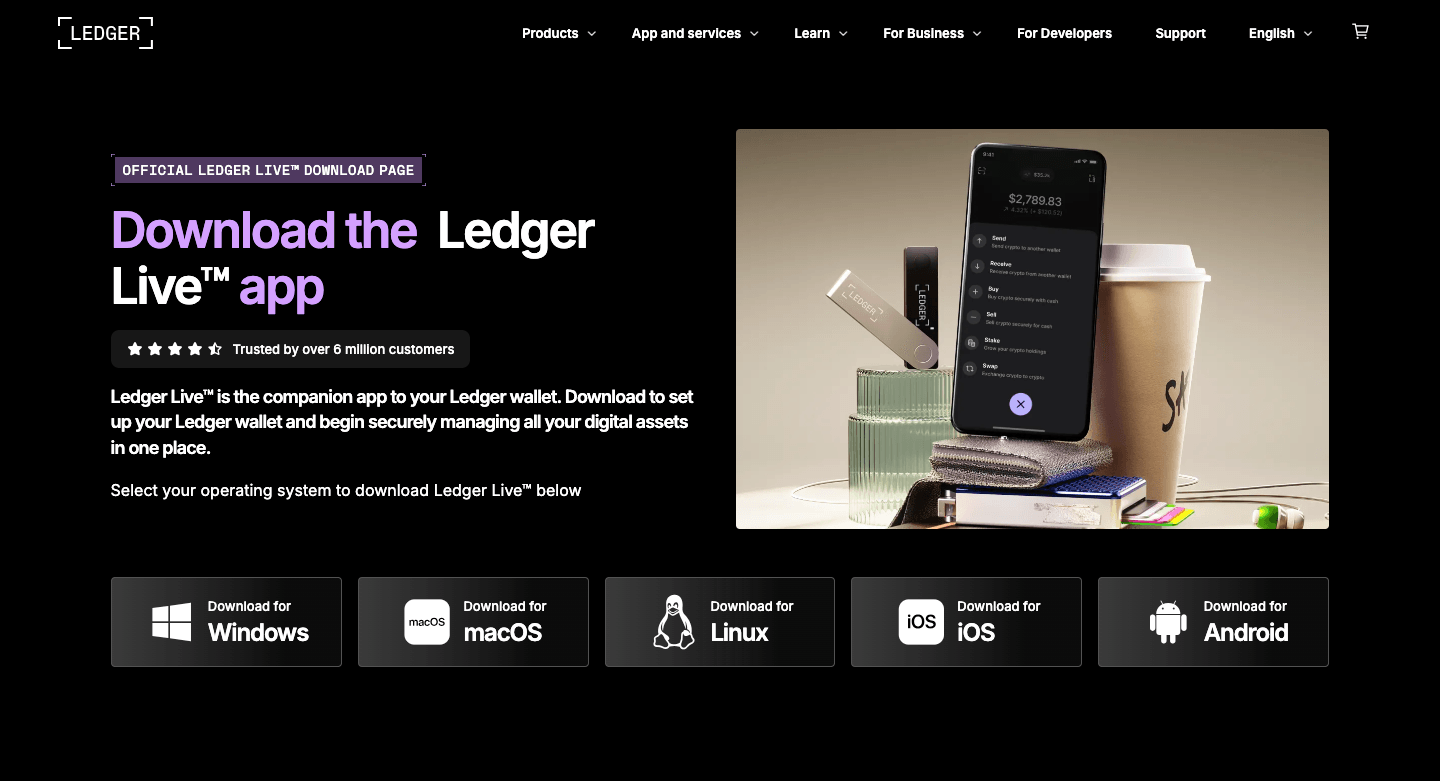
5. Installing Ledger Live
Ledger Live is the official app to manage your crypto.
Download & Install
Go to Ledger.com/Start
Download Ledger Live for Windows, macOS, Linux, iOS, or Android.
Open the app and select "Get Started."
Pairing Your Device
Connect via USB or Bluetooth.
Follow prompts to verify authenticity (anti-counterfeit check).
6. Adding and Managing Cryptocurrencies
Adding Accounts
In Ledger Live, click "Add Account."
Select a cryptocurrency (e.g., Bitcoin).
Confirm on your Ledger device.
Your wallet address will appear—use this to receive funds.
Sending Crypto
Click "Send" in Ledger Live.
Enter the recipient’s address and amount.
Confirm the transaction on your Ledger device.
Receiving Crypto
Click "Receive" in Ledger Live.
Verify the address on your Ledger screen.
Share this address to receive funds.
7. Security Best Practices
To maximize security, follow these tips:
🔒 Never share your 24-word recovery phrase.
🔒 Enable 2FA for Ledger Live (if available).
🔒 Only buy from Ledger.com (avoid scams).
🔒 Keep firmware updated.
🔒 Use a strong PIN and keep the device physically secure.
8. Troubleshooting Common Issues
Device Not Detected?
Try a different USB cable/port.
Restart Ledger Live.
Forgot PIN?
Reset the device and restore using your 24-word phrase.
Transaction Stuck?
Check blockchain congestion (e.g., Ethereum gas fees).
Adjust fees in Ledger Live.
9. Conclusion & Next Steps
Congratulations! You’ve successfully set up your Ledger wallet and can now securely store, send, and receive cryptocurrencies.
Next Steps:
Explore DeFi (connect Ledger to MetaMask).
Buy more crypto via Ledger Live’s partner exchanges.
Stake coins for passive income.
For more help, visit:
🔗 Ledger Support
🔗 Ledger Academy
Final Reminder
Your crypto security is in your hands. Never share your recovery phrase, always verify transactions on your device, and stay vigilant against scams.
🚀 Happy hodling with Ledger! 🚀